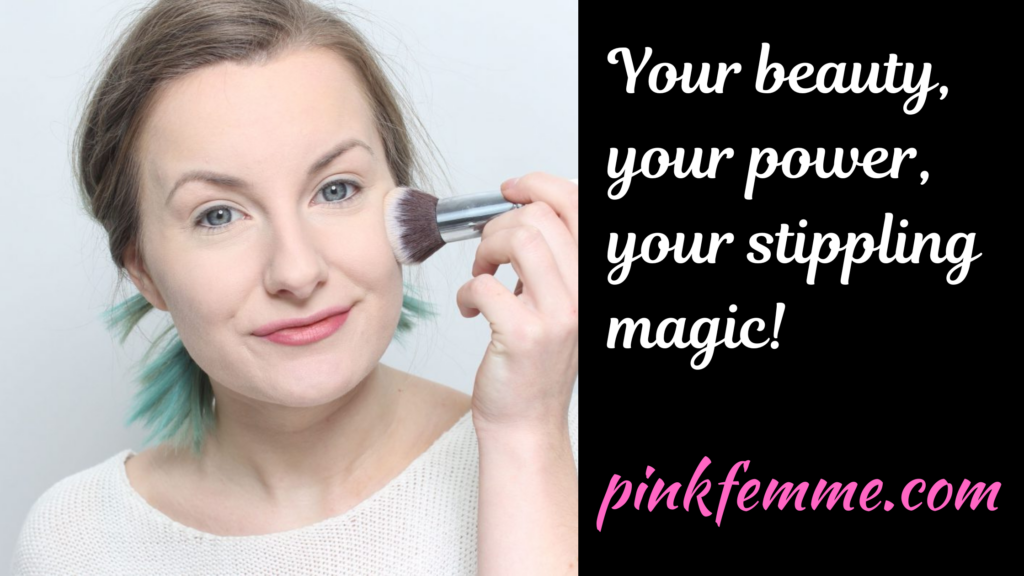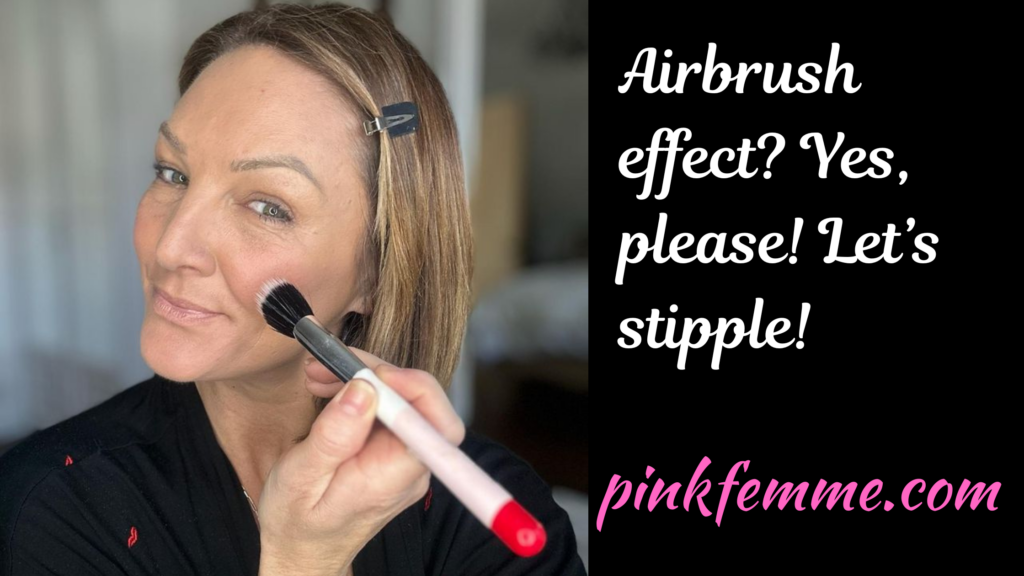
I’ll never forget the first time I tried to do my makeup with something other than my fingers—it felt like stepping into a whole new world. I was a beginner, experimenting with brushes and sponges, trying to make my foundation look as flawless as possible. Enter the stippling brush, a total game-changer that I wish I’d discovered sooner. If you’re new to makeup tools or just looking to level up your routine, let me tell you all about this gem and how it can give you that airbrushed, “my skin but better” finish.
To use a stippling brush, lightly tap liquid or cream makeup onto your skin in small dots and blend with gentle circular motions for a flawless finish. Perfect for foundation, blush, bronzer, or highlighter, it creates an airbrushed effect and works wonders for building coverage.
Let’s dive in deeper, shall we? A stippling brush is more than just a tool; it’s your ticket to mastering a smooth, natural, and long-lasting makeup look. Plus, knowing how to use it properly can save you time, effort, and even a bit of product.
What Is a Stippling Brush?
So, what exactly is a stippling brush? It’s that unique, flat-edged brush with two layers of bristles you may have seen in stores or online. The top layer, often white, is delicate and designed to pick up the product, while the bottom layer, usually black and denser, presses the product onto your skin. This clever design minimizes product absorption by the brush, so you’re left with more makeup on your face and less wasted on the tool.

It’s versatile and can be used for everything from foundation to highlighter. For me, it was a game-changer because it helps blend cream and liquid products so seamlessly. Plus, the stippling technique itself—applying makeup in tiny dots—gives your skin that beautiful, airbrushed look. At the moment I’m using the Keshima Duo-Fiber Stippling Brush (available on Amazon). I have tried many stippling brushes over the years and this one works just as well as others that are triple the price.
What Does Stippling Mean?
Stippling is like the dot-painting technique you might remember from art class. Instead of dragging or sweeping the brush across your skin, you press it lightly to create tiny dots. These dots overlap to create a smooth, even finish that hides blemishes, redness, or anything else you’d rather not have on display.
If you’ve ever struggled to get that full-coverage, natural look, stippling might just be your secret weapon. The best part? It works for everyone—whether you’re covering up acne, evening out redness, or just want to feel extra flawless.
What Should You Use a Stippling Brush For?
A stippling brush is super versatile and works for a variety of products. Here’s a quick rundown:
- Foundation: The L’Oréal Paris Infallible 24 Hour Fresh Wear Foundation, Lightweight, (available on Amazon) blends like a dream with a stippling brush.
- Blush: Use the L’Oréal Paris Infallible Longwear Blush Shaping Sticks (available on Amazon) for a natural pop of color.
- Bronzer: The L’Oréal Paris Summer Belle Makeup Beach Bae Face & Body Liquid Luminizer (available on Amazon) pairs perfectly with this tool.
- Highlighter: The L’Oréal Paris True Match Lumi Glow Amour Glow Boosting Drops (available on Amazon) glide on effortlessly.
Liquid and cream products are where this brush shines, but you can experiment with different formulas to find what works for you!
How to Use a Stippling Brush
Step #1: Grab Your Brush
First things first, pick the right stippling brush. Larger ones are great for foundation, while smaller brushes work well for precision areas like your cheekbones or around your nose.
Step #2: Apply Your Product
Add a small amount of your chosen product to the brush. Start with less—stippling brushes make it easy to build coverage, so you don’t need a ton of product right away.
Step #3: Blend Like a Pro
Here’s where the magic happens! Gently press the brush against your skin, creating small dots. Blend these dots by either continuing the tapping motion until the product melds seamlessly or switching to gentle circular motions for a quicker blend.
Step #4: Repeat All Over
Work section by section to ensure even application. Need more coverage? Add another layer using the same stippling motion.
Step #5: Build It Up
If you’re aiming for a more full-coverage look, go ahead and build it up. Just make sure you’re using buildable products like the ones I mentioned earlier—trust me, they make all the difference!
How to Care for a Stippling Brush
Keeping your stippling brush clean is non-negotiable. Dirty brushes can mess with your makeup application and irritate your skin. After every use, give your brush a quick spot-clean with a brush cleanser and a soft towel. Once a week, do a deeper clean to keep it fresh and bacteria-free.
Why not expand your knowledge even further by reading another makeup/beauty article here on Pink Femme? You can find them either via the menu at the top of the page or by clicking this link that will take you to the list of all the beauty articles.
When it comes to my choices for makeup and beauty products, I only use L’Oréal Paris (Available on Amazon). I have really sensitive skin and never once have I had any negative reaction to any L’Oréal product.
If you enjoy reading romance stories, take a look at my author page on Amazon where you will find all the novels that I have published so far.
Keep up to date with all my latest femme news with the fabulous Pink Femme Newsletter. Each Monday you’ll receive an email from me that will include a chapter from the novel that I am currently writing. I will also alert you to interesting information from articles that have not yet been published on Pink Femme. The Pink Femme Newsletter is the only place to see chapters from the novels before they are published. Sign up today: PINK FEMME NEWSLETTER.
