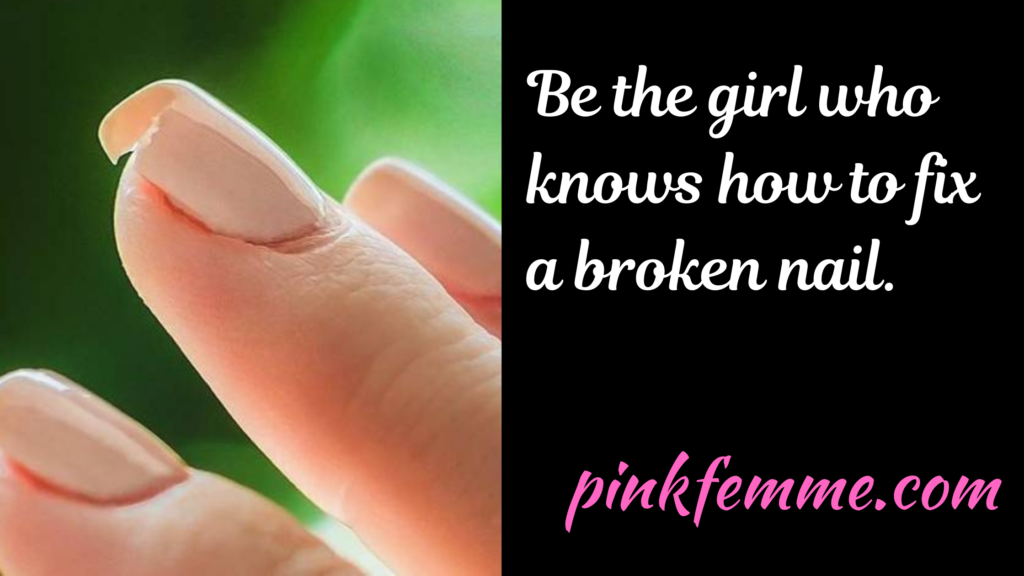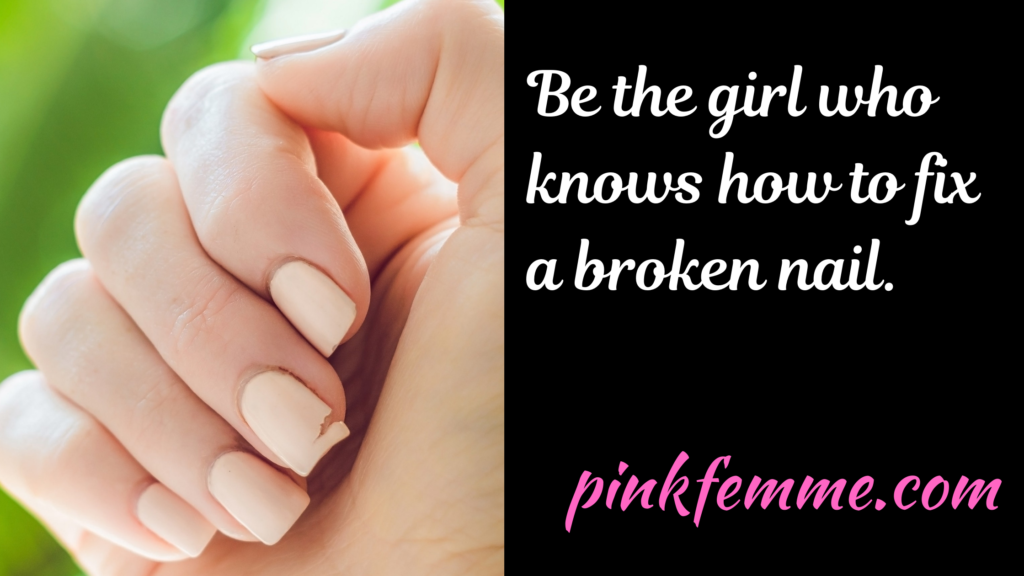
I remember once breaking a nail at the gym just a couple of hours before a late morning job interview and couldn’t get to a nail salon in time.
We all know how much a fresh new manicure can lift our mood. However, a broken nail can really put a downer on your day. The usual solution would be to book an emergency appointment at your nail salon to fix it. Sometimes you don’t have time to make it to the salon, or perhaps the salon has already closed for the weekend and you need your nails to look fresh ASAP.
At first, learning how to fix a broken nail may seem super complicated, it’s actually quite a simple process.
If you use the right technique and just a few key tools you will be able to get the job done, not to mention being able to help a girlfriend out if she breaks a nail during a night out. No matter whether your nails are cracked, split, or completely broken, there is a solution to rescue the situation.
Let’s take a look at how you can save yourself the anguish of having a broken nail just when you want your hands looking splendid.
Exactly How To Fix A Broken Nail
There are just eight key tips between you and saving a potentially ruined manicure. It’s time to get down to business. Keep reading for those nail-saving tips:
File Your Nails To Rescue A Split Nail Before It Rips Further
When it comes to a split nail, all you need is a nail file and nail clippers to get your nails back to normal. They will just be minus a little length.
Split nails usually occur at the tip of your nail, which means they’re pretty easy to fix. If it’s a small split, then a few seconds with a nail file will have your nails looking as good as new.
If your nails have a longer split, you may have to trim them down. Clip your nails to just below where the split is, then follow up with your nail file to even out your nail shape, and you’re good to go.
I always have at least one emery board in my bag at all times. I find that filing a small split saves me the aggravation of needing to clip back a longer split later.
Nail Glue Can Rescue A Broken Nail
If you would much rather keep the length of your nails that you have worked so hard to get then nail glue can save you from needing to cut back a broken nail.
Using nail glue is also great as an emergency fix until you can get to the nail salon and have a professional create a more long-lasting fix.
The way you do this is to apply a small amount of nail glue to the area where your nail is broken. Then, press the broken nail piece into place and hold for a few seconds. When the broken piece is set in place, gently remove excess glue with a small cotton swab, then buff and file your nails. Once complete, apply a clear coat of nail polish to seal in your work.
Where the nail broke will still be an area of weakness for your nail so you will need to still be cautious when going about your day or days until you can get to the salon.
Apply A Few Coats Of Gel Polish To Give Yourself A Salon-Grade Nail Repair
There is a reason why gel manicures are so popular the world over. You already know that gel manicures give your nails a natural-looking finish. However, the formula is also useful for strengthening your nails and repairing small breaks and cracks.
What’s more, if you have a lamp for curing gel polish, you can even DIY a nail-repairing gel manicure at home that can come out stronger than the nail was before you broke it.
Wear Press-On Nails If You Are Prone To Nail Damage
One of the unfortunate side effects of doing trail running as a sport is that it is near impossible to keep my nails undamaged when it comes to scrambling over rocks on the trail.
Press-on nails have saved the day for me more than once. If you are also prone to experiencing broken nails in your day-to-day life then having a few sets of press-on nails becomes essential.
Press-on nails are available in many shapes and sizes, making them great for providing your natural nails with a protective barrier that will help prevent further cracks and splits at bay.
If you have already damaged a nail, then press-ons will also prevent the split nail from catching on everything. Attach the press-on nail to your natural nails using adhesive strips for a quick remedy.
If you are looking for a longer-lasting solution then swap the adhesive strips for nail glue to keep your press-on nails intact for much longer.
What I like about the adhesive strip option is that it makes my press-on nails more temporary. I have a set of short press-on nails that I use to protect my nails when I’m training or racing on really technical, rocky trails with lots of scrambling. Then, when the occasion calls for it I can swap out to a longer set of press-on nails to go with my dressier outfit.
A Broken Nail Is An Opportunity To Try Dip Powder Nails
Dip powder nails will definitely be a long-lasting fix for a broken nail. It is the perfect way to mask a broken nail and give your nails the time they need to grow back. This technique will cover nails with a dip powder color that hardens and conceals splits in the process.
The whole process is actually simpler than you might think. A special base coat is brushed onto your nail then dip powder is added on top of the break. Once that has been set, your nail needs to be filed down neatly before adding a topcoat.
You can follow this up with a full dip powder manicure in whatever color you like to ensure your cracked nail is completely undercover hidden. You can even have your damaged nail in a different color as a signature nail and it will still be hidden in plain sight.
I’m planning a whole article about introducing you to Dip Powder Nails.
Rebuild A Broken Nail With A Repurposed Tea Bag
The idea for this somewhat weird solution comes from the world of surfing, or more specifically repairing fiberglass surfboards.
What you need to do is cut the tea bag, so you have a piece that is just the right size to cover the broken part of the nail. Put a thin layer of nail glue on the broken area of the nail. While the nail glue is still wet, lay the tea bag flat on your nail with the help of tweezers. Apply an additional layer of glue over the teabag to seal the strengthening teabag fibers in place, and let the nail dry. Once your nail is dry, buff the nail for a natural finish.
Invest In A Nail Repair Kit
Why not expand your manicure supplies to include a nail repair kit. Not only could this tip be your saving grace, but it can gain you a BFF once a girlfriend knows that you know how to use one.
The previous tips are perfect for an emergency and working with what you’ve got. Having a repair kit that is complete with nail powder and glue is one of the best ways to fix a break. The kit will have a set of instructions for you to follow. I suggest reading them when you get the kit so that you already have an idea of what to do before needing to deal with a broken nail.
Almost always the instructions will involve applying a layer of glue, dusting a nail powder on top, then letting the powder dry before filing your nail until smooth.
Cut All Your Nails To Match The Broken Nail
This will be your last resort when all else fails. If your broken or split nail needs to be cut back then it might be time to have a shorter manicure so that you don’t draw attention to broken or uneven nails.
So, in this case, you clip back all your nails to an even length before filing and buffing them into shape. Though, this does mean starting again from scratch and growing your nails back longer and stronger.

There is one important note that you must remember. Everything that we have covered so far is in relation to cosmetic damage to your nails. However, sometimes things are more complicated than what can be remedied with a quick fix. As an example, if your nail is badly broken and bleeding, your best option is a visit to your doctor’s office so that the nail can be properly cleaned and treated. The last thing that you need is to seal an infection under your cosmetic nail repair.
Bonus Tips For Preventing Broken Nails
Now that we have saved your nails using emergency repairs to fix cracked and split nails, maybe it’s time to look at ways you can prevent broken nails in the first place. Sure, accidents can still happen, but there are still ways you can keep your manicure safe.
Keep Your Nails Short
This is what I do even though it may not be your style. Shorter nails help keep breaks from happening and snags from getting too serious.
To put it another way, long nails can easily get caught on various objects, which can lead to cracking and splitting. I have a propensity for snagging long nails on chunky sweaters in winter when I’m in a hurry – not to mention ruining hosiery as well.
If you do make a short manicure your default style you always have the option to use press-on nails in the shape of your choice for special occasions.
Cuticle Oil Is Essential For Nail Health
Regularly moisturizing your nails is very important as it improves their overall health. Healthy nails mean that it is easier to achieve a perfect manicure.
It is a myth that cuticle oil is only necessary when you’re getting your nails done. If you use cuticle oil two or even three times each week, you will be able to keep your nails nicely moisturized.
Avoid Exposing Your Nails To Excessive Water
It is impossible to completely avoid getting our hands wet. We have our skincare routine, showers, and washing our hands for overall health and cleanliness.
However, keeping your nails out of water beyond what is necessary can go a long way in preventing broken nails. Water softens both your natural nails and even a gel manicure. Soft nails are prone to break, split, or even crack. Use gloves while washing the dishes and handling other wet chores around the house to keep your nails in tip-top shape.
Use A Nail Hardener If Needed
When I used to do triathlons I used a nail hardener. There was no way that I could do swim training without getting my nails wet and soft.
You may also need to switch things up and introduce a nail hardener to your regular nail painting routine.
As the name suggests, a nail hardener is a type of nail polish treatment that is brilliant for strengthening thin and brittle nails.
Brush on a coat of hardener as the first step in painting your nails, and over time you should notice an improvement.
