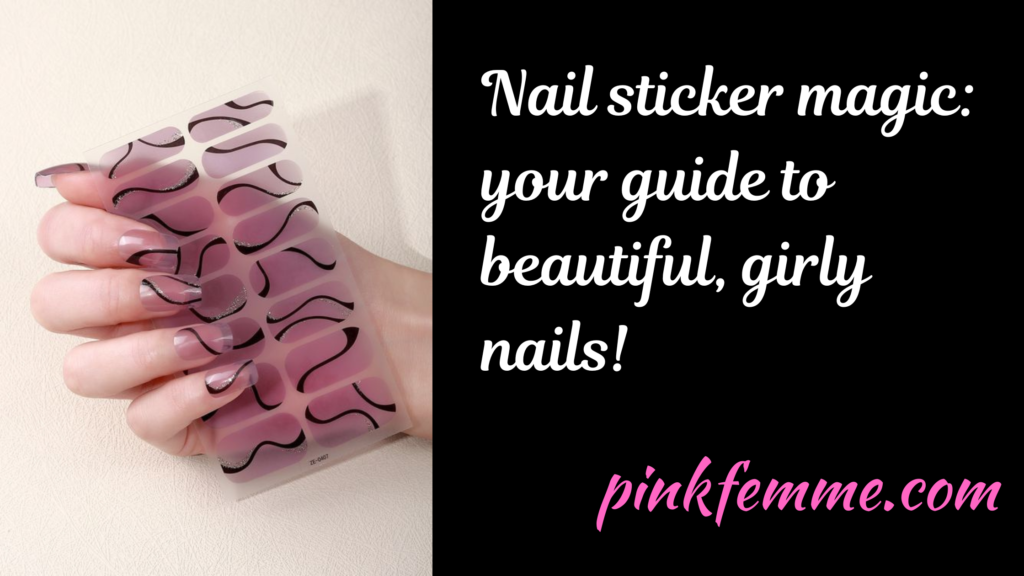
I’ve always loved doing my nails, but honestly, between work, school, and everything in between, who has time for the salon every week? That’s when I found the magic of nail stickers. If you’re looking for an easy way to get salon-quality nails at home, these are an absolute game-changer.
Nail stickers give you beautiful, intricate designs without the hassle, and I’ve got all the tips and tricks for you to try them out too!
What Are Nail Stickers?
So, what exactly are nail stickers? These little gems are made from nail polish strips with an adhesive backing. Think of it as nail polish that’s already dried and ready to stick on your nails. They usually come in pre-cut sizes that cover the entire nail—no mess, no drying time. You can find full-cover options in endless designs, from glittery florals to classic, minimalist colors, as well as smaller accent stickers for a subtle touch. I’ve found these so helpful when I’m short on time but still want my nails looking cute!
Are Nail Stickers Safe?
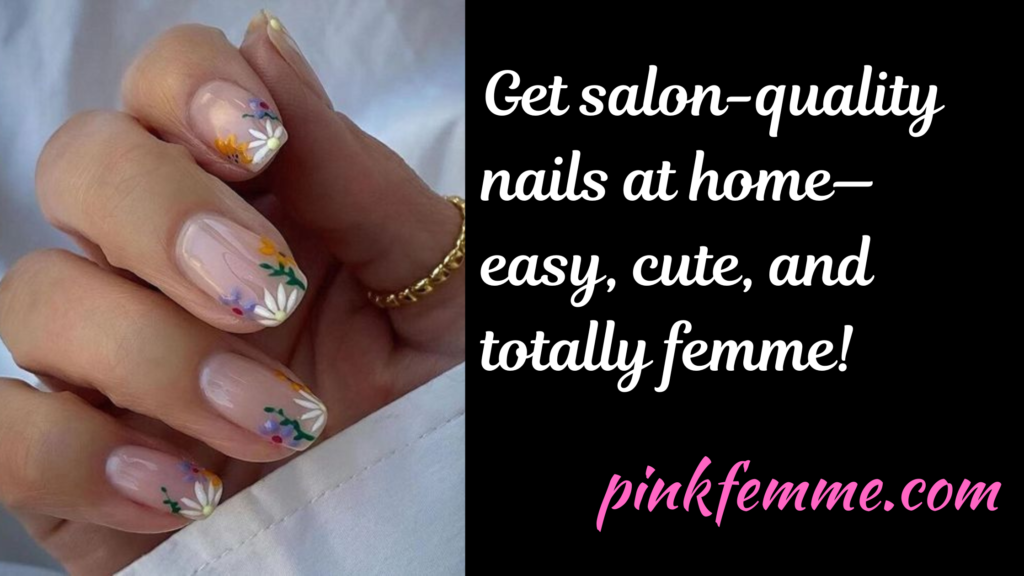
Now, if you’re like me, you might worry about whether nail stickers will damage your nails. Luckily, the answer is no! Nail stickers are made from real nail polish and just a little bit of adhesive, so they peel off without harming your nails. You can skip the salon and go for a DIY manicure without worrying about any long-term nail damage.
How Much Do Nail Stickers Cost?
One of the best things about nail stickers is the price. Unlike a regular manicure, which can be costly over time, nail stickers are super budget-friendly. Most nail art sticker sets fall between $5 and $12, so you can get several styles without breaking the bank. I love trying different styles each week, and it still costs way less than my old salon visits.
How Long Do Nail Stickers Last?
When you apply nail stickers the right way, they can last up to two weeks. Seriously, that’s two whole weeks of beautiful nails without chips or smudges. The key is in the application, so the more time you take to apply them, the longer they’ll stay put. Plus, this way you don’t have to worry about constantly redoing your nails or touching them up.
How to Apply Nail Stickers
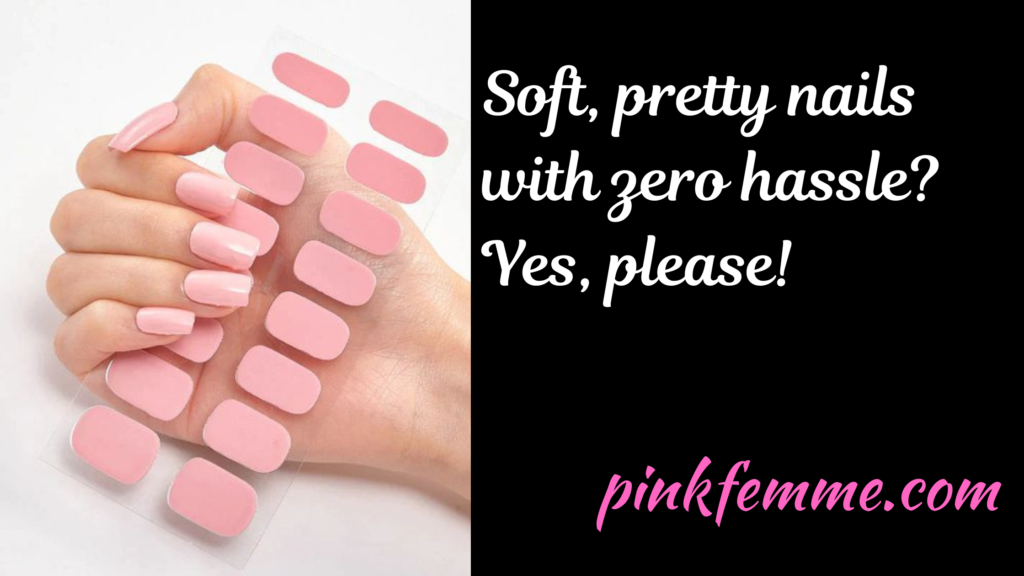
Applying nail stickers is super easy once you get the hang of it! Here’s my go-to step-by-step guide:
Remove Old Nail Polish
Start with a clean base. Use your favorite nail polish remover to make sure there’s nothing on your nails. This will help the stickers adhere properly.
File and Shape Your Nails
Think of nail stickers as an extension of your natural nails, so get them prepped! Trim and shape your nails for an even base that helps the stickers look more natural.
Clean and Soak Your Nails
After filing, give your nails a little soak in warm water. Use an orange stick to gently push your cuticles back, creating a clean canvas for the stickers.
Select Your Nail Stickers
Now comes the fun part! Each sheet of nail stickers usually has a variety of sizes, so you can find the perfect fit for each nail. Match the stickers to your nails before peeling to make sure they’re the right fit.
Peel Your Nail Stickers
Peeling can be a little tricky, especially with longer nails. You can use tweezers if they’re being stubborn or are sticking too tightly to the sheet.
Apply Your Nail Stickers
Gently press the adhesive side of the sticker as close to your cuticle as possible, then smooth it down from cuticle to tip for a seamless look. Pro tip: if you’re using stickers as accents, place them wherever you’d like over a base color.
File Away the Excess
If any part of the sticker hangs off the edge, grab a nail file and gently buff it away for a clean finish.
Bonus Tip: Add a Clear Top Coat
For a little extra shine and durability, I love adding a clear top coat on top of my stickers. This step is totally optional but will help seal everything in and give a glossy finish.
How to Remove Nail Stickers
Once your stickers have run their course or start lifting at the edges, it’s time to take them off. Here are some easy ways to do it:
Peel and Go
If the stickers have been on for a while, they’ll likely come off by gently peeling from the edges. Easy and quick!
Acetone Soak
For any stubborn stickers, do a quick acetone soak. Apply a bit of petroleum jelly around your cuticles first to protect your skin, then soak your nails in acetone for 10 minutes. Gently lift the stickers off with an orange stick.
Hot Water Soak
If you’d rather skip acetone, try a hot water soak with a few drops of dish soap. Let your nails sit in warm water for about 20 minutes, and the stickers should peel off easily.
Nail stickers have made it so much easier to keep my nails looking fresh without the salon trips. They’re convenient, affordable, and let you switch up styles as often as you want! So go ahead, pick up a set, and treat yourself to the fun of a DIY nail day—you’re going to love it!
Why not expand your knowledge even further by reading another makeup/beauty article here on Pink Femme? You can find them either via the menu at the top of the page or by clicking this link that will take you to the list of all the beauty articles.
When it comes to my choices for makeup and beauty products, I only use L’Oréal Paris (Available on Amazon). I have really sensitive skin and never once have I had any negative reaction to any L’Oréal product.
Keep up to date with all my latest femme news with the fabulous Pink Femme Newsletter. Each Monday you’ll receive an email from me that will include a chapter from the novel that I am currently writing. I will also alert you to interesting information from articles that have not yet been published on Pink Femme. The Pink Femme Newsletter is the only place to see chapters from the novels before they are published. Sign up today: PINK FEMME NEWSLETTER.
