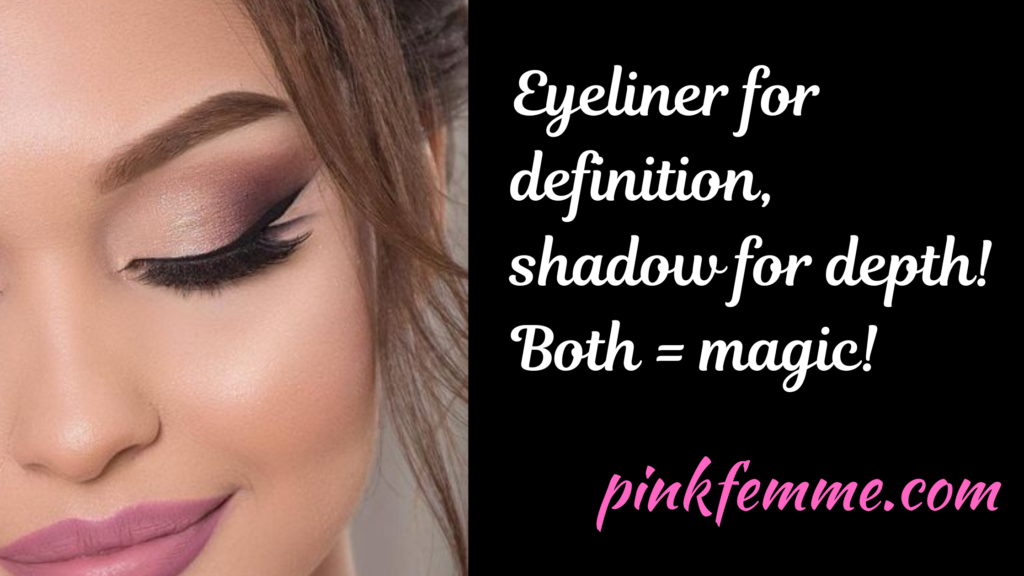
When I first started experimenting with makeup, I remember standing in front of the mirror, eyeliner in one hand, eye shadow in the other, thinking, “Which one goes first?” It was a moment of genuine confusion and a lot of trial and error (trust me, I learned the hard way with smudged liners and misplaced sparkles). Since then, I’ve discovered a routine that keeps everything looking fresh, bold, and exactly where it should be. So if you’ve ever felt the same way—or if you’re just curious about leveling up your eye game—let’s dive into this step-by-step guide that’s truly made a difference in my makeup routine!
Let’s take a closer look at what the experts say about the best order to apply our eye makeup.
Should You Apply Eyeliner or Eye Shadow First?
Alright, here’s the scoop. I usually start with eye shadow before eyeliner. Why? When you apply eye shadow first, it gives a soft, blended background that allows the eyeliner to really pop. On the flip side, if you start with eyeliner, you might find it getting blurred by the shadow, which, unless you’re going for a smoky, diffused look, isn’t ideal. This order keeps everything crisp and gives you better control over how each product looks and lasts throughout the day.
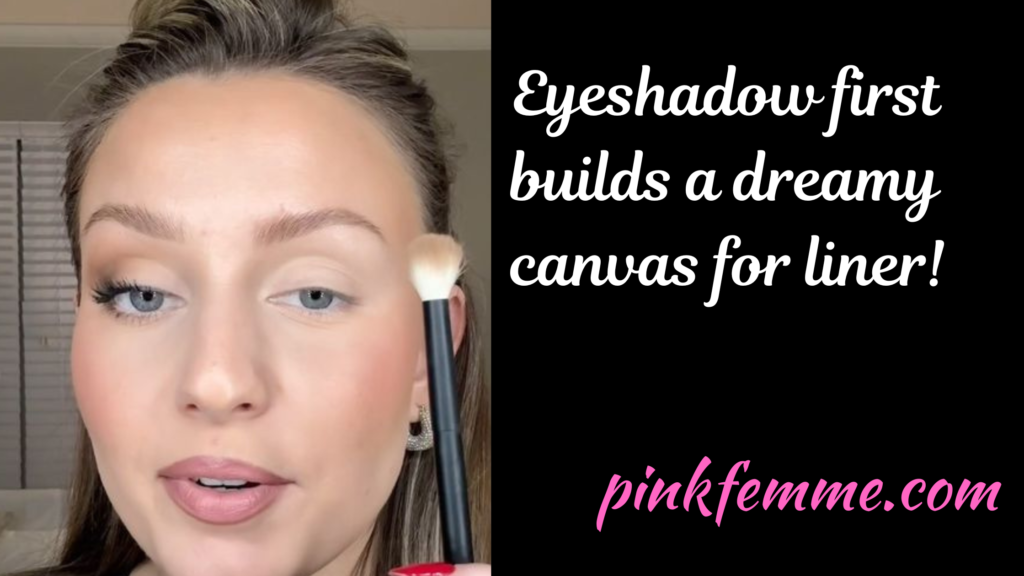
How to Apply Eyeliner and Eye Shadow (in the Best Order!)
Now, let’s go through the exact steps that have made all the difference for me. Each part of this routine has its purpose, so feel free to follow along with whatever products you have or try out some of my personal favorites. Let’s get started!
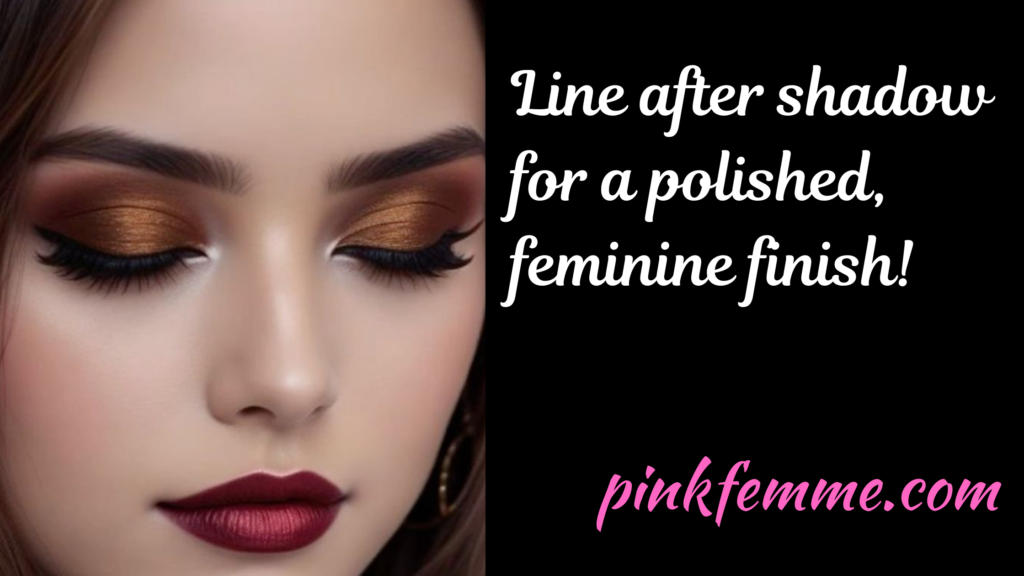
Step 1: Prime Those Lids
First thing’s first—start with primer! This is a step I skipped a lot at first, but trust me, it helps so much with staying power and smoothness. Smooth a tiny dab of primer across your lids and up to your brow bone for the best results. (If you’re out of primer, a bit of concealer works just as well!) I love the way it keeps everything in place, making it ideal for all-day wear.
Step 2: Lay Down the Eye Shadow
Once primed, it’s eye shadow time! A super easy way to add dimension is to start with a light, shimmery shade on the lid. For this, I often reach for L’Oréal Paris Colour Riche Monos Eyeshadow (available on Amazon) in Little Beige Dress for a soft, flattering base. Next, I sweep a medium-tone color, like L’Oréal Paris Colour Riche Monos Eyeshadow (available on Amazon) in Café Au Lait, right into the crease.
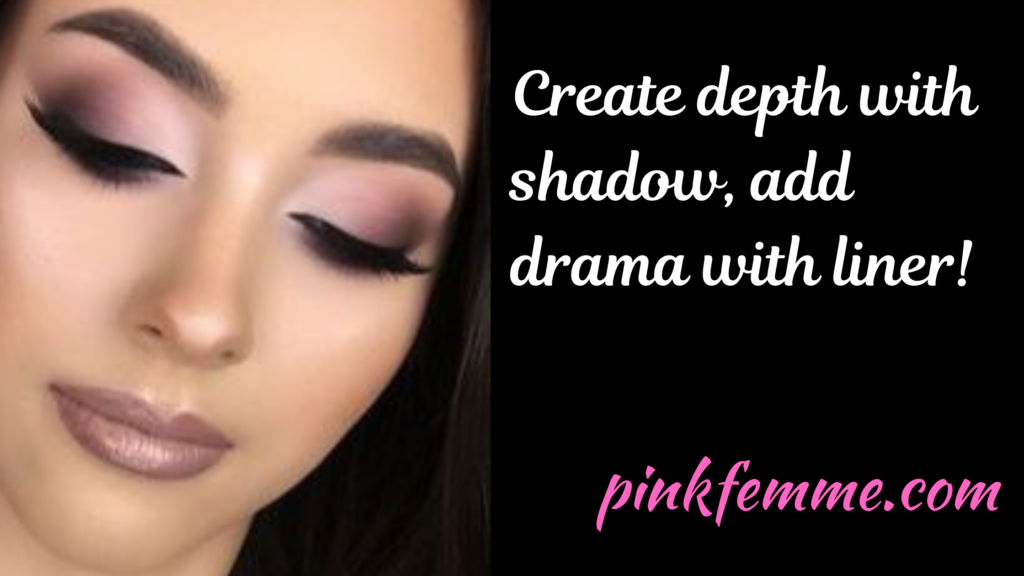
Finally, add some drama by smudging a darker shade like the L’Oréal Paris Colour Riche Monos Eyeshadow (available on Amazon) in Quartz Fume—along the lash line. It’s such an easy way to make your eyes stand out without feeling overdone!
Step 3: Add Eyeliner
Now that the eye shadow is set, it’s time for eyeliner. I prefer liquid liner for that bold, sharp line, so I reach for L’Oréal Paris Infallible The Super Slim Liquid Eyeliner (available on Amazon). A thin line gives a subtle vibe, but you can go thicker and add a flick for a bit of drama. Not sure how to master that wing? No worries—practice makes perfect, and there are lots of tutorials that can help you nail the look.
Step 4: Tightline for Extra Definition
If you’re into that “invisible” eyeliner look that makes your lashes look naturally fuller, tightlining is where it’s at. Gently lift your lid to expose the area right under your lashes and carefully fill it in with a pencil liner like L’Oréal Paris Infallible Pro-Last Waterproof, Up to 24HR Pencil Eyeliner (available on Amazon) in Nude. It’s one of those tricks that subtly defines your eyes and makes your lashes look darker without a harsh line. Magic!
Step 5: Curl Those Lashes
This step makes such a difference! I know eyelash curlers look a bit intimidating, but they’re worth trying for that lifted, wide-eyed effect. Position the curler at the base of your lashes, close to the eyelid but not pinching the skin, and give a gentle squeeze. Hold for a few seconds, then repeat a couple of times, moving from the base to the tips for a beautiful curl.
Step 6: Apply Mascara
Mascara time! No eye look is complete without it. For volume and length, L’Oréal Paris Unlimited Lash Lifting and Lengthening Washable Mascara (available on Amazon) has become one of my go-tos. Sweep the brush from root to tip, giving a little wiggle as you go to make sure every lash is fully coated. Adding a second coat can bring even more volume, so don’t be afraid to build it up if that’s your thing.
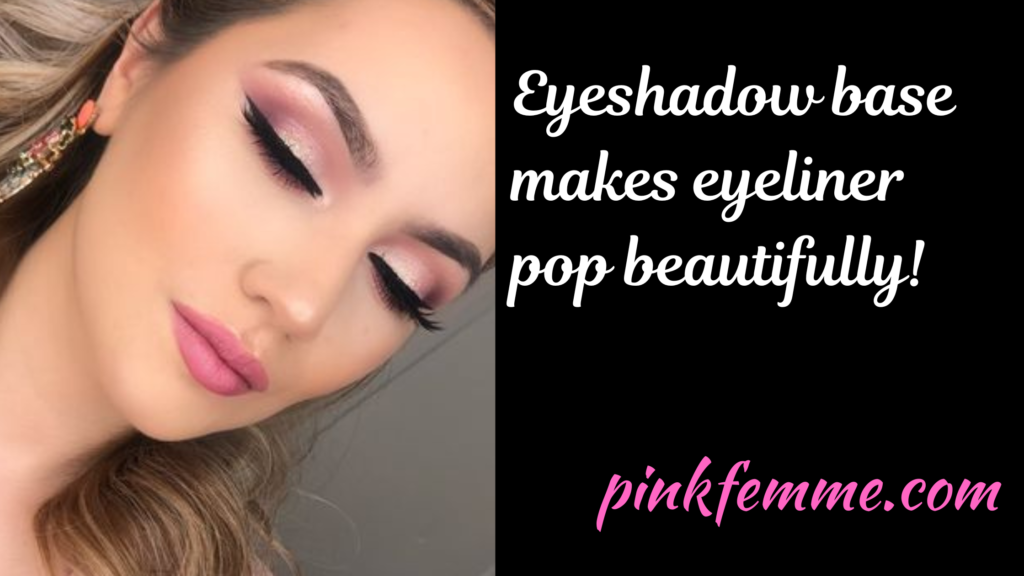
And there you have it—a simple, effective routine for flawless eye makeup every time! Each step has its role in creating a look that’s bold, balanced, and perfect for making your eyes stand out. So the next time you’re wondering which comes first, eyeliner or eye shadow, you’ve got the answer (and a new routine to boot)!
Why not expand your knowledge even further by reading another makeup/beauty article here on Pink Femme? You can find them either via the menu at the top of the page or by clicking this link that will take you to the list of all the beauty articles.
When it comes to my choices for makeup and beauty products, I only use L’Oréal Paris (Available on Amazon). I have really sensitive skin and never once have I had any negative reaction to any L’Oréal product. Keep up to date with all my latest femme news with the fabulous Pink Femme Newsletter. Each Monday you’ll receive an email from me that will include a chapter from the novel that I am currently writing. I will also alert you to interesting information from articles that have not yet been published on Pink Femme. The Pink Femme Newsletter is the only place to see chapters from the novels before they are published. Sign up today: PINK FEMME NEWSLETTER.
